
How to apply a photo filter to your image
1 Choose a template or start from scratch
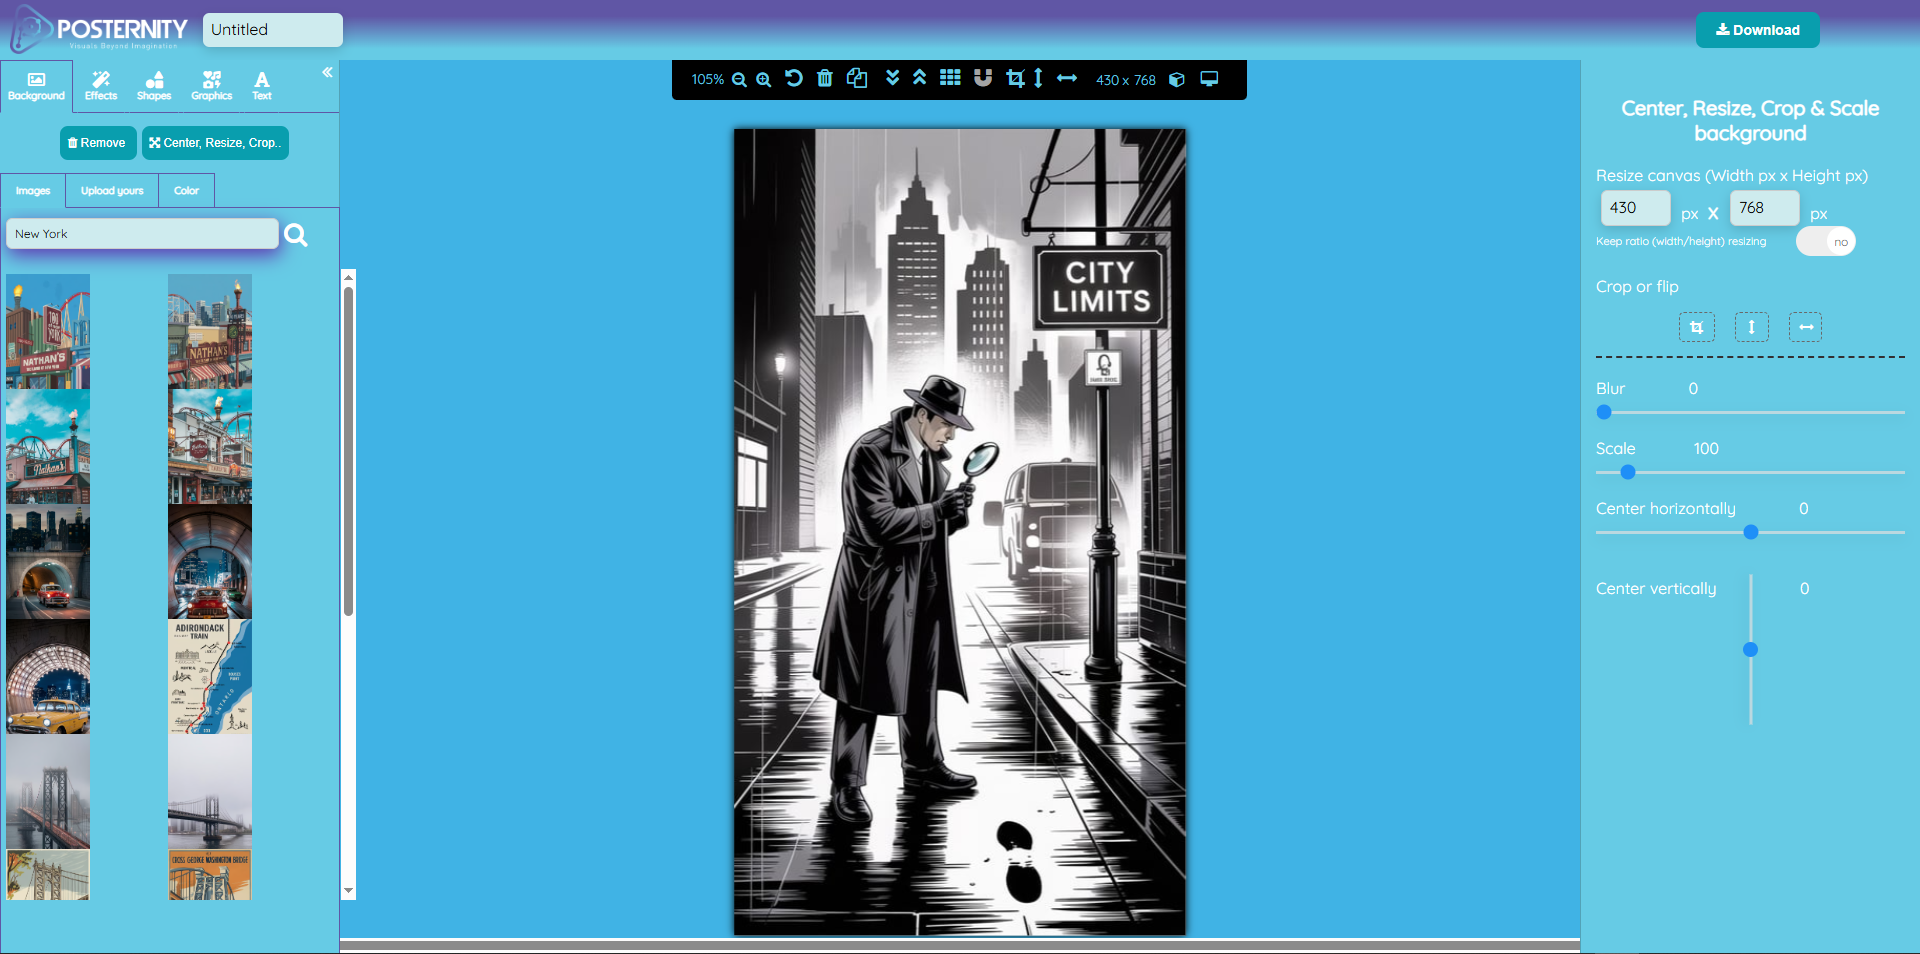
Start by opening Posternity Editor and simply drop your photo from your computer (or click on the "or click to browse" link located in the center of the "drop" area). Once your photo opens in the editor, keep in mind, you can change it anytime from the left menu of the studio.
To do so, you will find five menu items (Background, Effects, Shapes, Images and Text). Click on "Background" to open the background panel. There, you will find 3 subtabs ("Images", "Upload Yours" and "Color"). The "Upload yours" subtab will let you drag and drop another image from your computer. So, if you want to change the photo you already uploaded, click on "Upload Yours" and drag and drop your new image from your local computer to the "Drop image here" box.
Once dropped, you will see your new uploaded image appears on your canvas as shown on the picture.
![]()
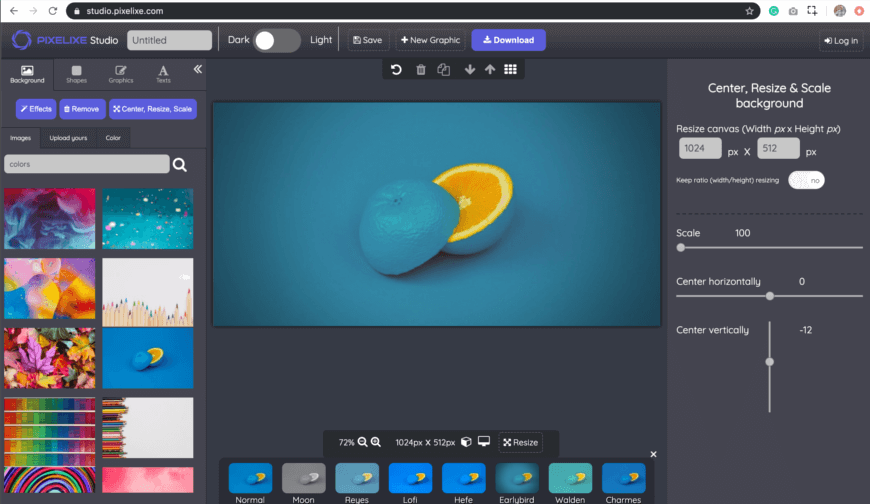
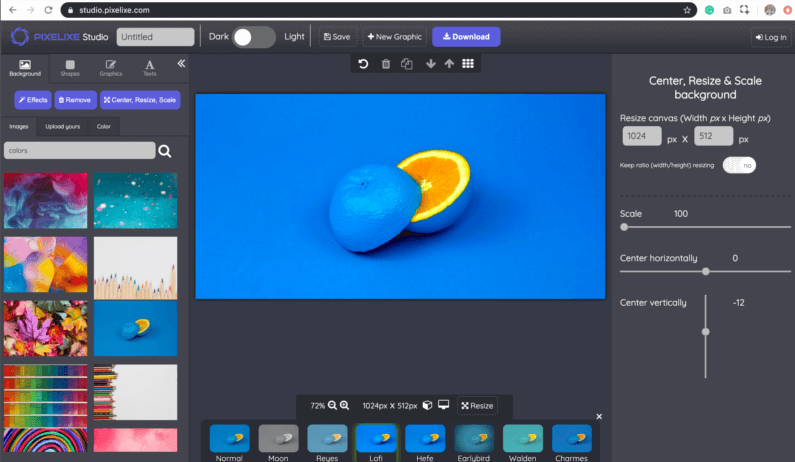
2 Choose your favorite photo filter
Nothing more simple! As soon as the editor opens with your photo, click on the "Effects" menu (left side of the screen) and our collection of photo filters and effects will appear. You just have to test filters clicking on them and decide which one emphasize the most your image.
3 Download
Nothing more simple to download your creation. Click on the "Download" button located to the top right corner of the screen. You will instantly see a popup with the "Download your creation" headline with a few options to let you download your design either in PNG, JPEG or HTML format (HTML restricted to PRO subscriber). Click on the option of your choice and your image will be instantly generated and saved on your computer.
![]()