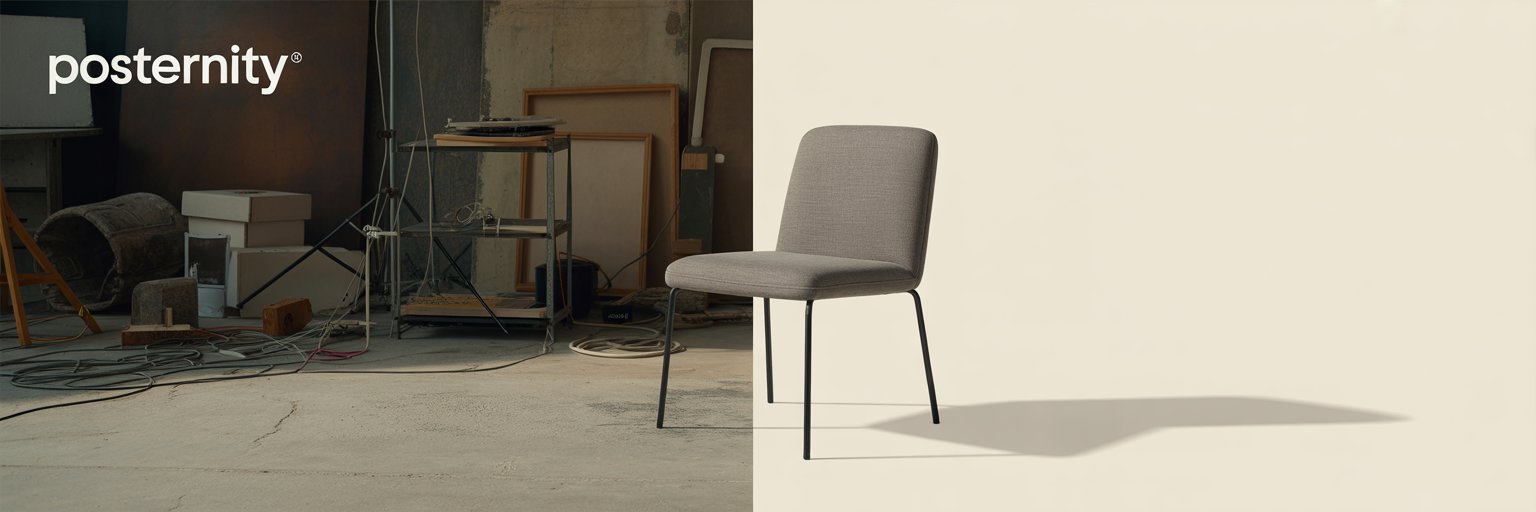

Placing Shadows with Casting
Give your images depth, realism, and polish with Casting Shadows in Posternity. This tool helps simulate natural light by adding a perspective-based shadow beneath your subject — perfect for grounding isolated objects or people on any background.
Getting Started
To enable shadow casting:
- Check the “Cast Shadow” Box
- This activates the shadow effect and displays two green control bars on your canvas.
Understanding the Green Bars
Think of the green bars as the anchors of your shadow:
- Near Bar (Bottom)
- This controls where the shadow begins.
- ✅ Tip: Align it with the base of your subject (e.g., the feet, bottom of an object). This ensures the shadow appears grounded and realistic.
- Far Bar (Top)
- This controls the length and angle of the shadow — also known as foreshortening.
- Moving this bar changes how far the shadow stretches and how dramatically it tapers.
🌀 Don’t be afraid to experiment!
Small adjustments can dramatically change the mood and believability of your image.
🎚 Fine-Tuning with Shadow Controls
To make your shadows even more convincing, use these advanced sliders:
- Opacity Scale
- Controls how quickly the shadow fades with distance.
- 🔽 Lower it to create a lighter, more diffuse shadow that gradually disappears.
- 🔼 Higher values keep the shadow darker for longer.
- Blur Scale
- Adjusts how soft or sharp the shadow appears.
- 🔼 Increase it for a softer, more natural look, especially on uneven or distant surfaces.
- 🔽 Decrease for sharper, high-contrast shadows — great for harsh light or studio-like setups.
🧪 Pro Tips
- Use longer, blurrier shadows for sunset or soft indoor lighting.
- Use shorter, sharper shadows for noon-day sun or spotlight effects.
- Pair with background color and lighting direction for maximum realism.
